Administrators of the eSHARE Web Portal for the organization can manage users’ settings, roles, and access from the 'Admin Console' tab. The following steps will be reviewed:
REQUIREMENT:
The person performing these steps must be an administrator of the eSHARE Web Portal for the organization.
From the 'Admin Console' tab, administrators can perform the following actions:
Apply Branding – Override organizational branding assigned to the user
Change Vanity Domain – Override the default eSHARE vanity domain assigned to the user
Restore Defaults – Restore branding and vanity domain defaults for the user
Make Admin – Elevate a regular user to the eSHARE administrator role
Disable Admin – Disable the eSHARE administrator role for a user
Disable – Deactivate a user for access to eSHARE
Enable – Reactivate a user who was previously disabled for access to eSHARE
Remove – Delete the user from the eSHARE application
Modify User Settings
Navigate to the 'Admin Console' tab in the eSHARE Web Portal.
In the Users view, search for the user.
Click the 'Settings' button to expand the available options.

Update the user's settings as needed:
Override Branding: From the 'Organization branding' drop-down list, select the branding desired to be applied to the user and select the 'Save settings' button to update. The new branding is displayed to the user upon next login or when the user’s browser is refreshed.
Override Vanity Domain: From the 'Vanity domain' drop-down list, select the vanity domain desired to be applied to the user and select the 'Save settings' button to update. The user is automatically redirected to the new vanity domain during next login. Only new shares created by the user since this update use the new vanity domain URL. All existing Trusted Shares prior to this change will continue to function under the previous vanity domain URL.
Restore Defaults: With the expanded settings view for the user, select the 'Restore defaults' button, followed by the 'Save settings' button. This restores the user’s branding and vanity domain to the organization’s default brand and vanity domain URL.
Update a User's eSHARE Role
Navigate to the 'Manage Organization' tab in the eSHARE Web Portal.
In the Users view, search for the user.
Under the 'Choose action' button for the user, select 'Manage roles'.

Select the appropriate role for the user. Administrator roles include 'eShare Administrator' and 'Auditing Reader'.
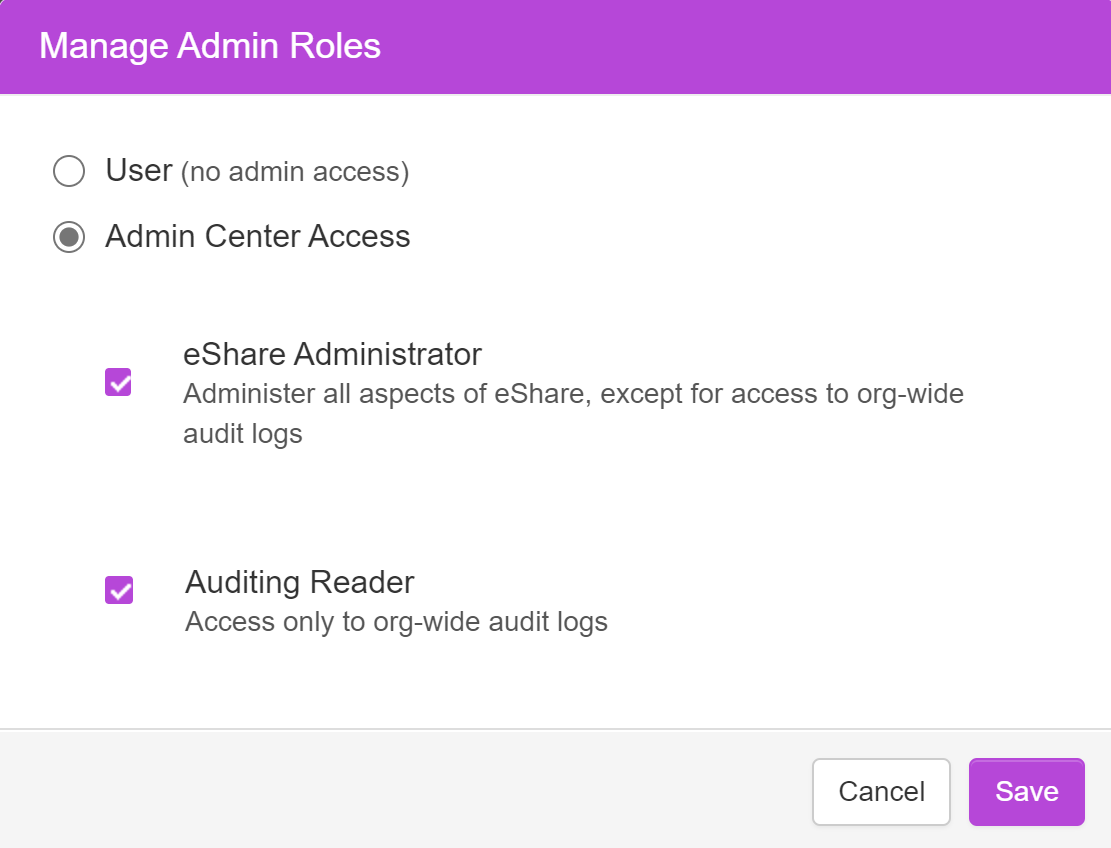
To disable the eSHARE administrator role for the user, simply uncheck the appropriate checkbox. Notice that the user’s row is changed to black font, indicating the user has a regular active role in eSHARE.
Disable a User Account
To disable, enable, or remove a user account within eSHARE, select the 'Choose action' button for a selected user to view the menu options as shown below:

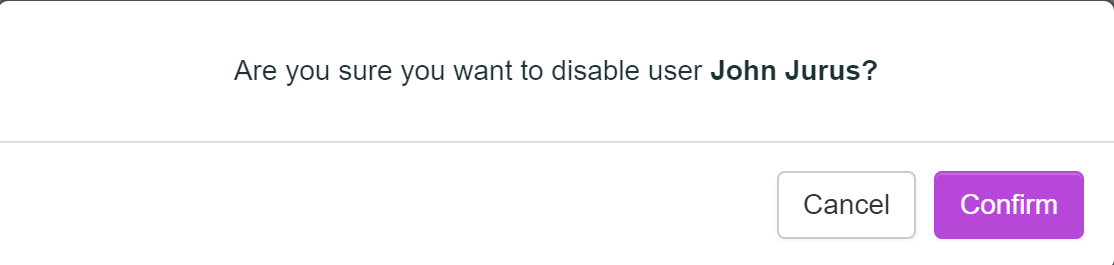
To disable a user’s account in eSHARE, select the 'Choose action' > 'Disable' option.
When prompted, select the 'Confirm' button to apply changes. When disabled, the user’s row is updated to light gray font indicating the user’s account is disabled in eSHARE.
Note:
For organizations with Single Sign-on or OpenID Connect enabled, users disabled in eSHARE are denied access to the application even when the user’s account in the M365 organization is still active and enabled. Any active Trusted Shares created by users whose account is disabled are automatically disabled. Recipients see a message indicating the share is no longer active.
Enable a User Account
To activate a user account which was previously disabled, select the 'Choose action' > 'Enable' option.
When prompted, select the 'Confirm' button to apply the change. When enabled, the user’s row is updated to black font indicating the user’s account is active and enabled for access to eSHARE.
Any Trusted Shares created by such a newly enabled user that have a future expiration date are activated. Recipients of such Trusted Shares have resumed access to such shares.
Remove a User Account
Important:
Only user accounts in disabled status can be removed from the eSHARE application. To delete a user, the first step is to disable the account, followed by removing the account.
To delete a user account from the eSHARE tenant, select the 'Choose action' > 'Remove' option from the menu.
Select the 'Confirm' button when prompted to initiate deletion of the user’s eSHARE account.
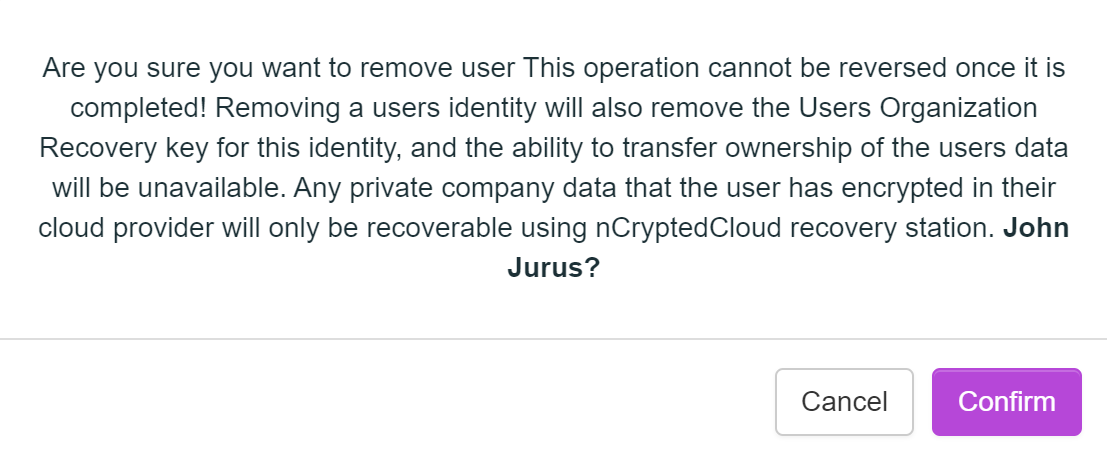
A few important things to consider regarding account removal:
User account removal is a non-reversible action. Any Trusted Shares created by the user are automatically deleted, and recipients of shares from such users see a message indicating the share was deleted.
If the user account is deleted from eSHARE but the user still has an active account in the organization, such a user may sign in via SSO/OpenID and have a new eSHARE account created. However, previously created Trusted Shares are no longer available.