This document describes how to create a Trusted Share from the eSHARE Web Portal, selecting the file or folder from the cloud provider where it is stored. The following steps will be reviewed:
PREREQUISITES:
This guide is only suitable for eSHARE licensed users. External/guest users may not see a 'Cloud Provider' tab.
Watch the Video Guide
Start a Trusted Share
Log in to the eSHARE Web Portal and navigate to the 'Cloud Provider' tab.
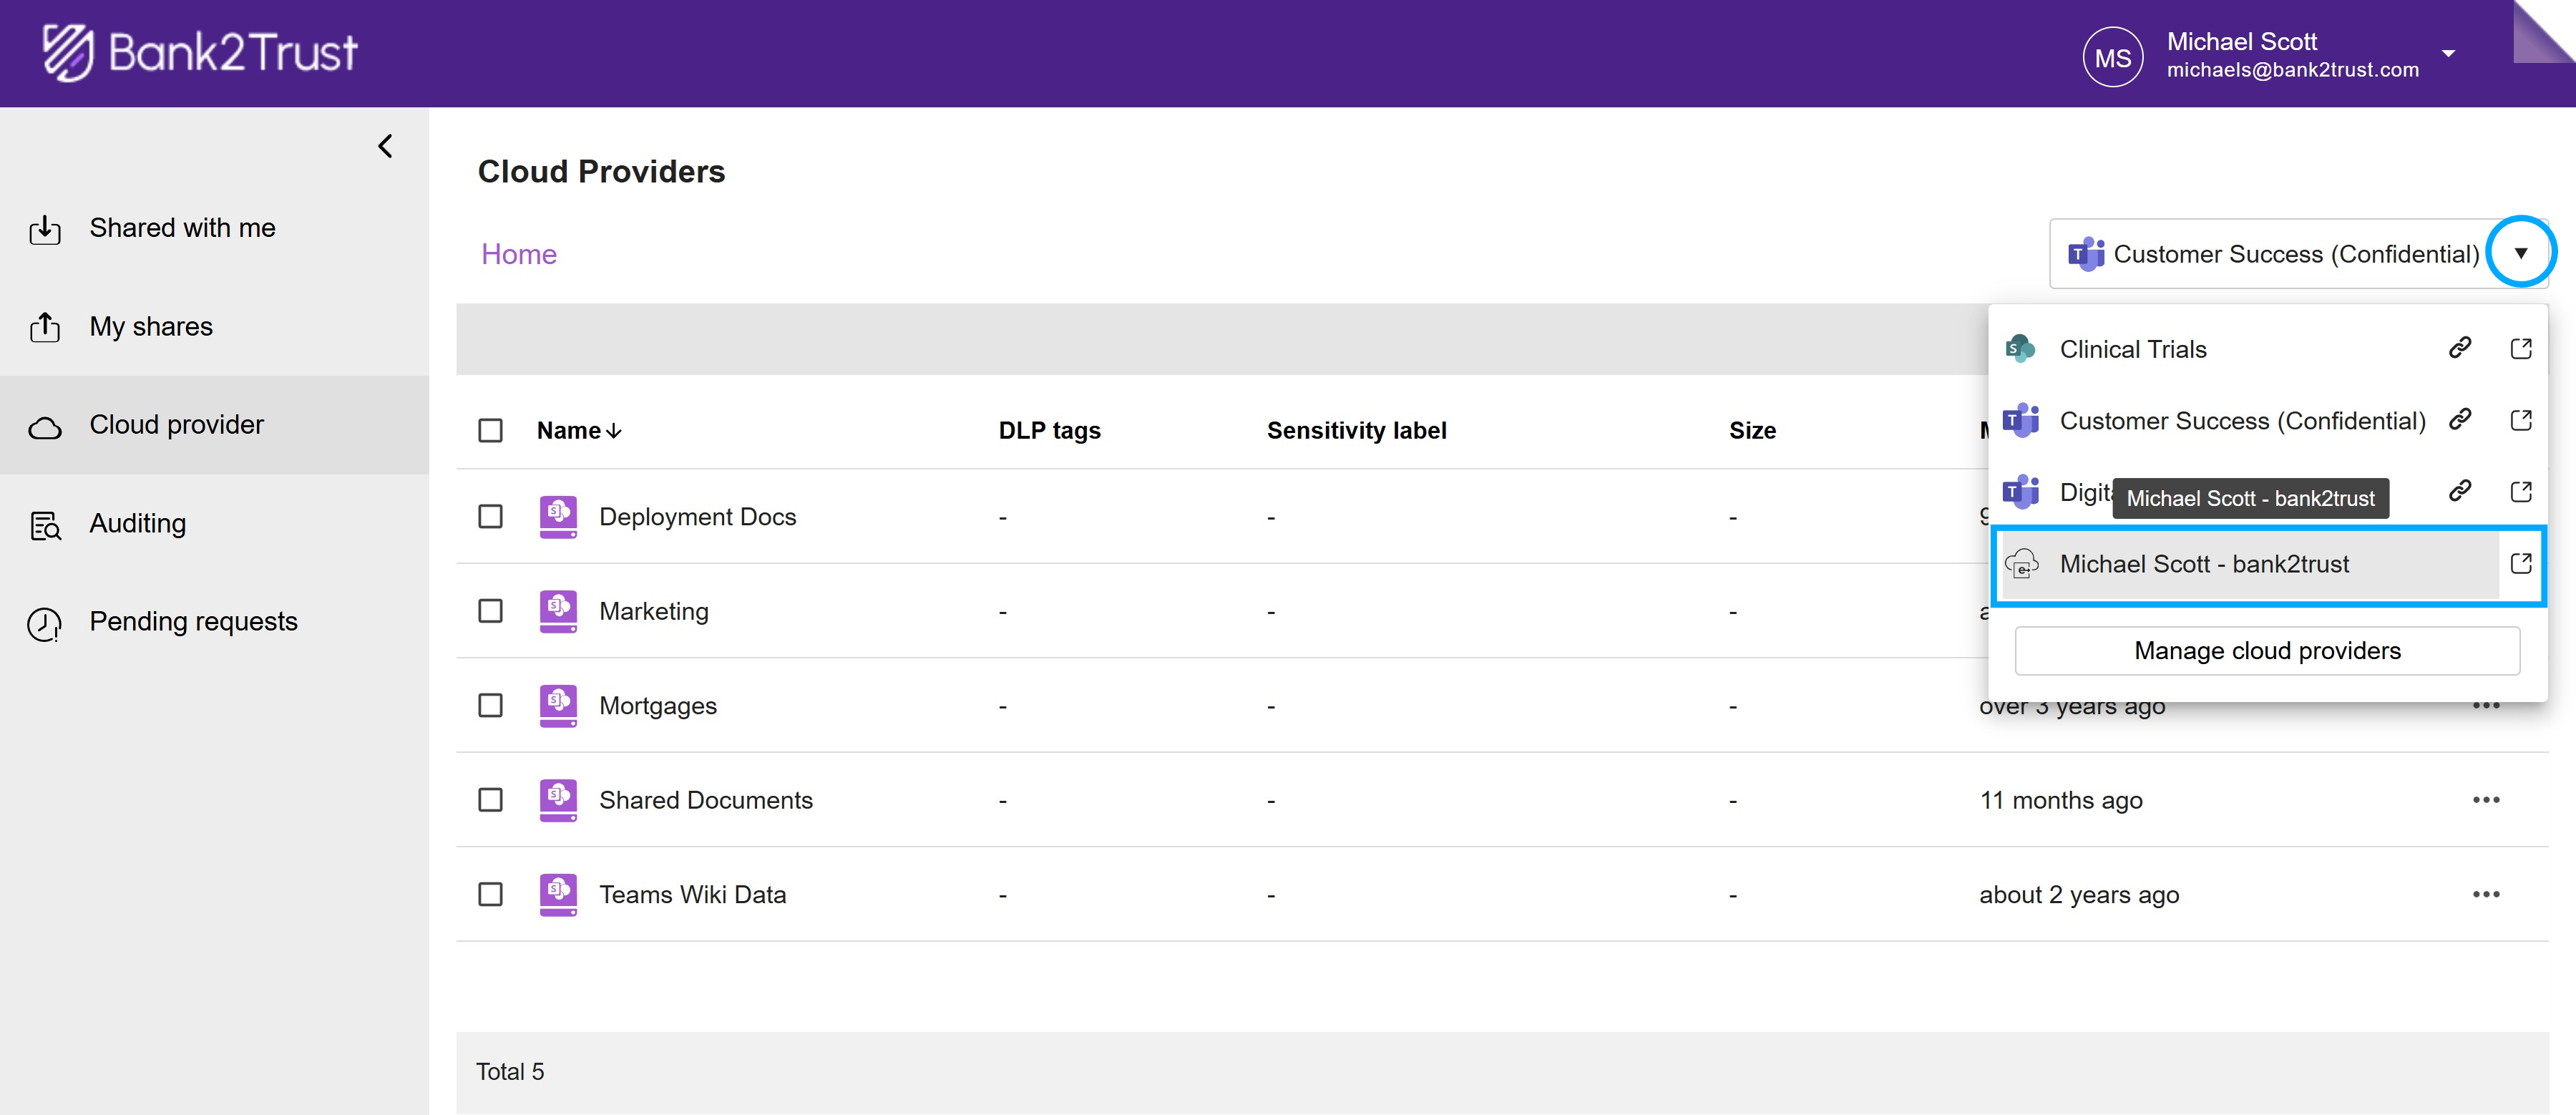
From the dropdown menu on the right, which lists all the cloud providers you have access to, select the cloud provider where the file you want to share is located.
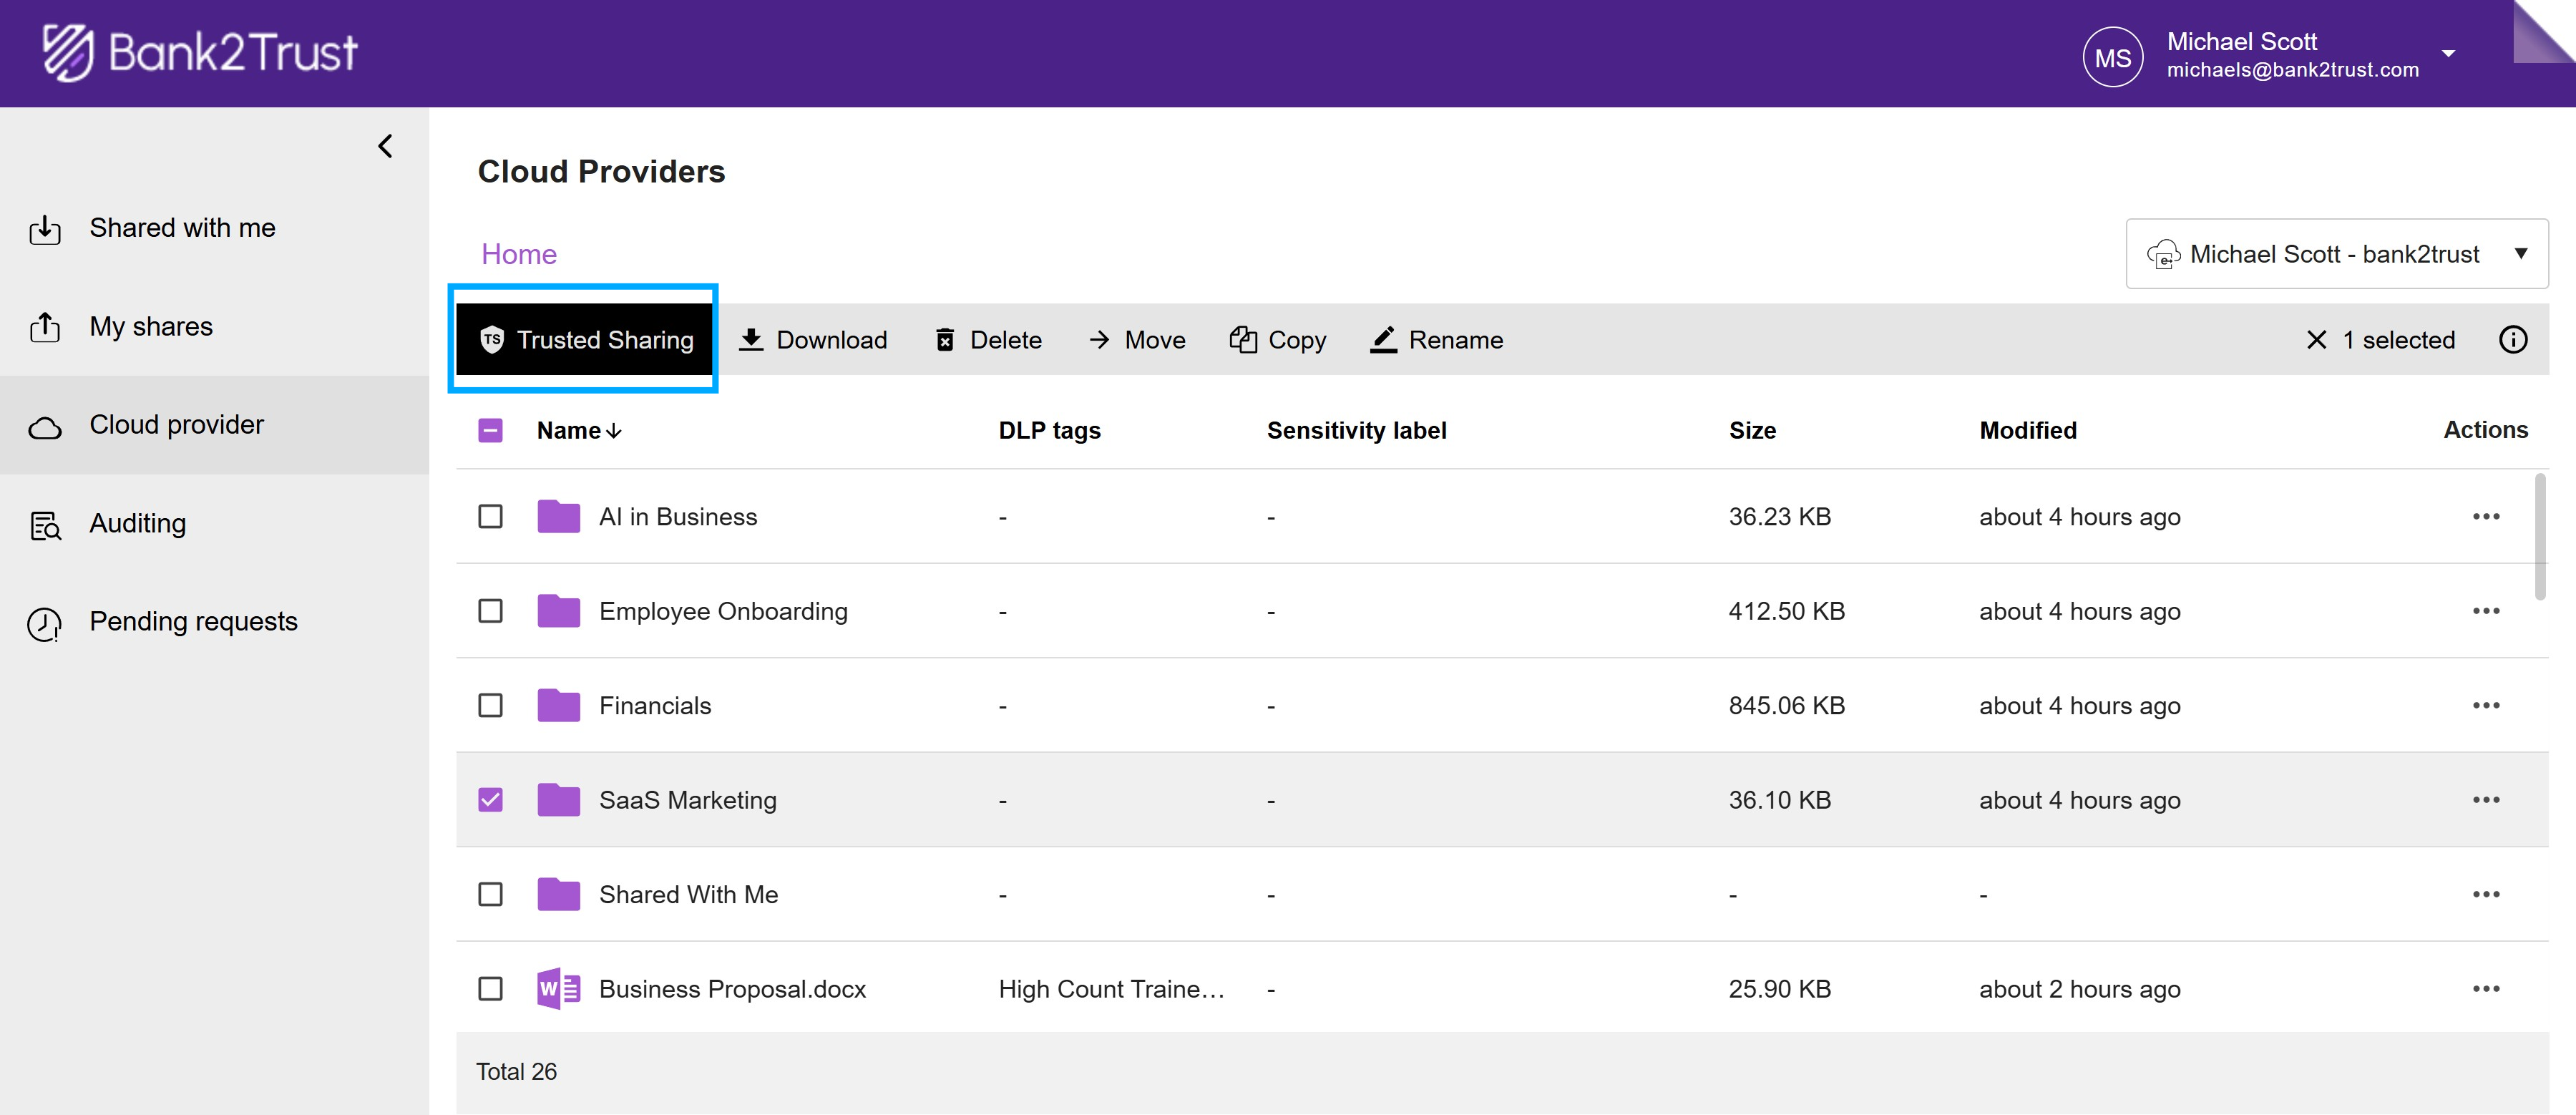
Choose the file or folder you want to share by clicking the checkbox on the left. Once selected, the 'Trusted Share' option will appear at the top of the screen.
Click 'Trusted Share' to begin the sharing process.
Enter the Share Details
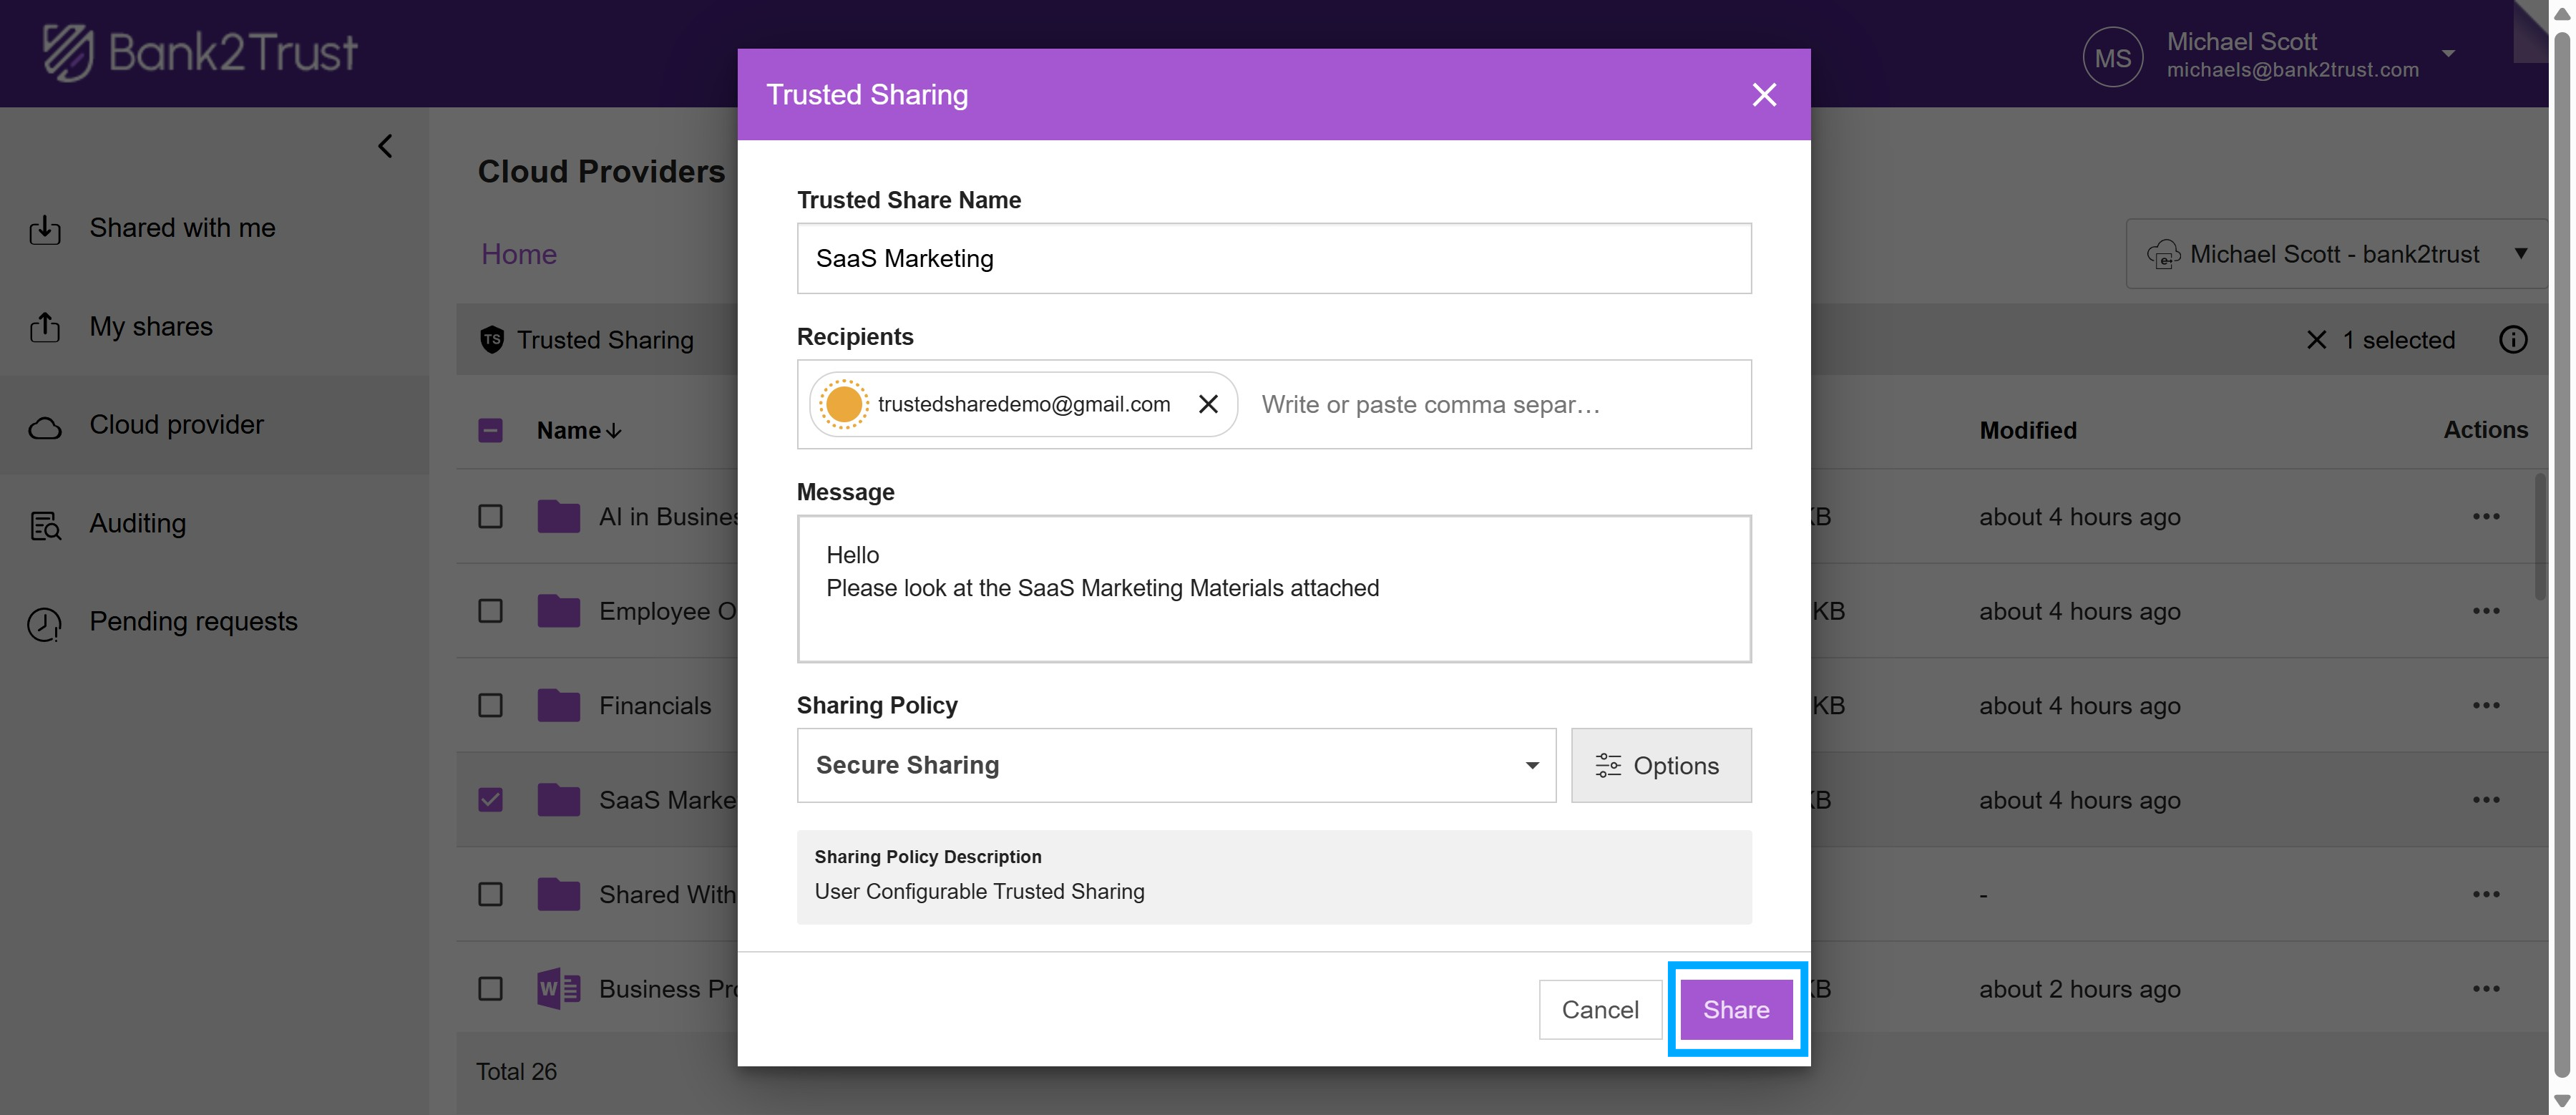
Enter the recipient email address(es) in the 'Recipients' field.
Type the message you would like to include with your Trusted Share.
Click the dropdown menu to view and select the appropriate sharing policy.
Note:
Sometimes you might not have an option to choose the sharing policy, as it is restricted by your organization admin.
Set Share Options and Share
Click the 'Options' button beside the sharing policy to view the available Trusted Share configurations: 'Permissions', 'Collaboration' and 'Authentication'.
Click each category to expand and view its available permissions. Some permissions may appear grayed out; these are default settings defined by your organization.
Select the configurations that best meet your sharing requirements. To learn more about each option, click here.
Once you’ve finalized your configuration options, click the 'Share' button at the bottom of the screen. A confirmation message, “Trusted Share Created”, will appear, indicating that your share has been successfully created.
You can access all your shares through the 'My Shares' section.