This document describes how to use the eSHARE Data Classification tool to apply and update data markings on your documents directly from Microsoft Word. The following steps will be reviewed:
Watch the Video Guide
Create a New Document
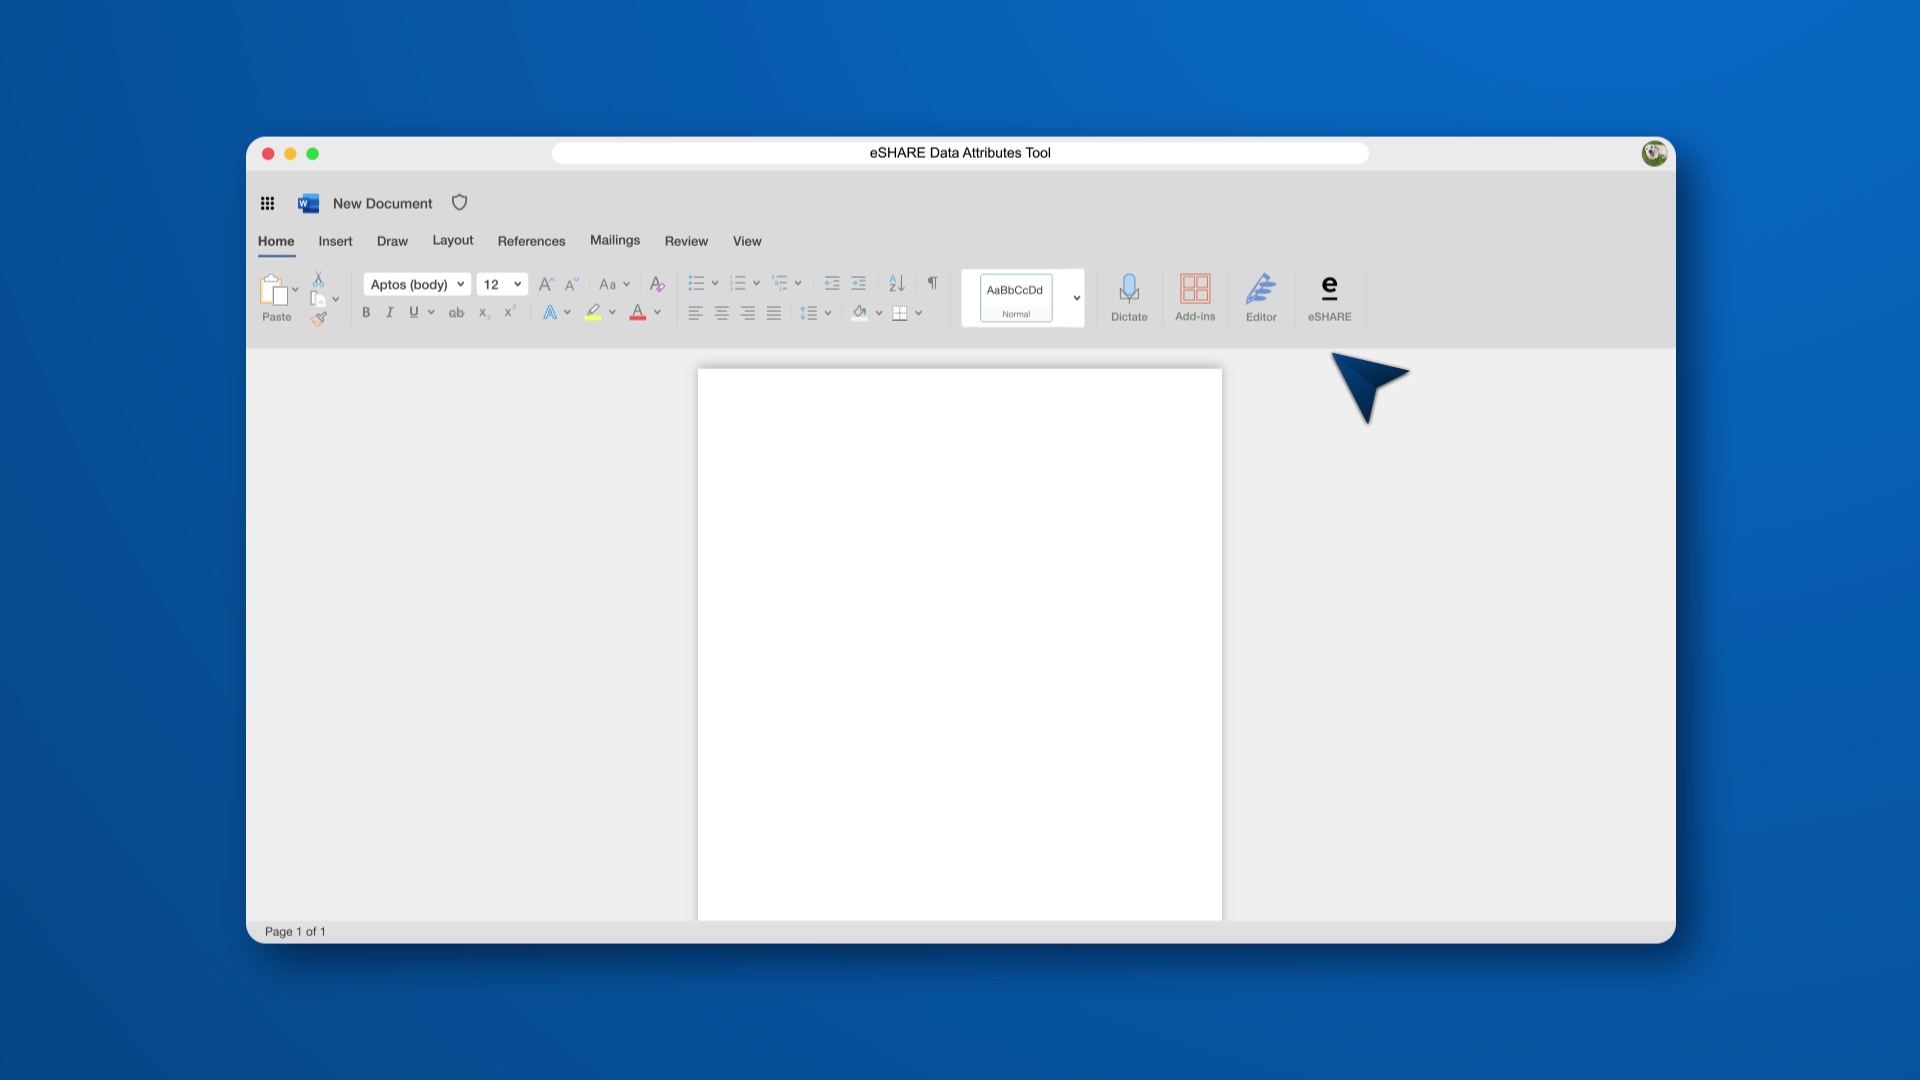
Open Microsoft Word and create a new document.
Apply the appropriate sensitivity label to your document.
Open the eSHARE Data Classification Tool
From the Word ribbon, select the 'Data Classification' tool. This will open a side panel on the right side of the screen.
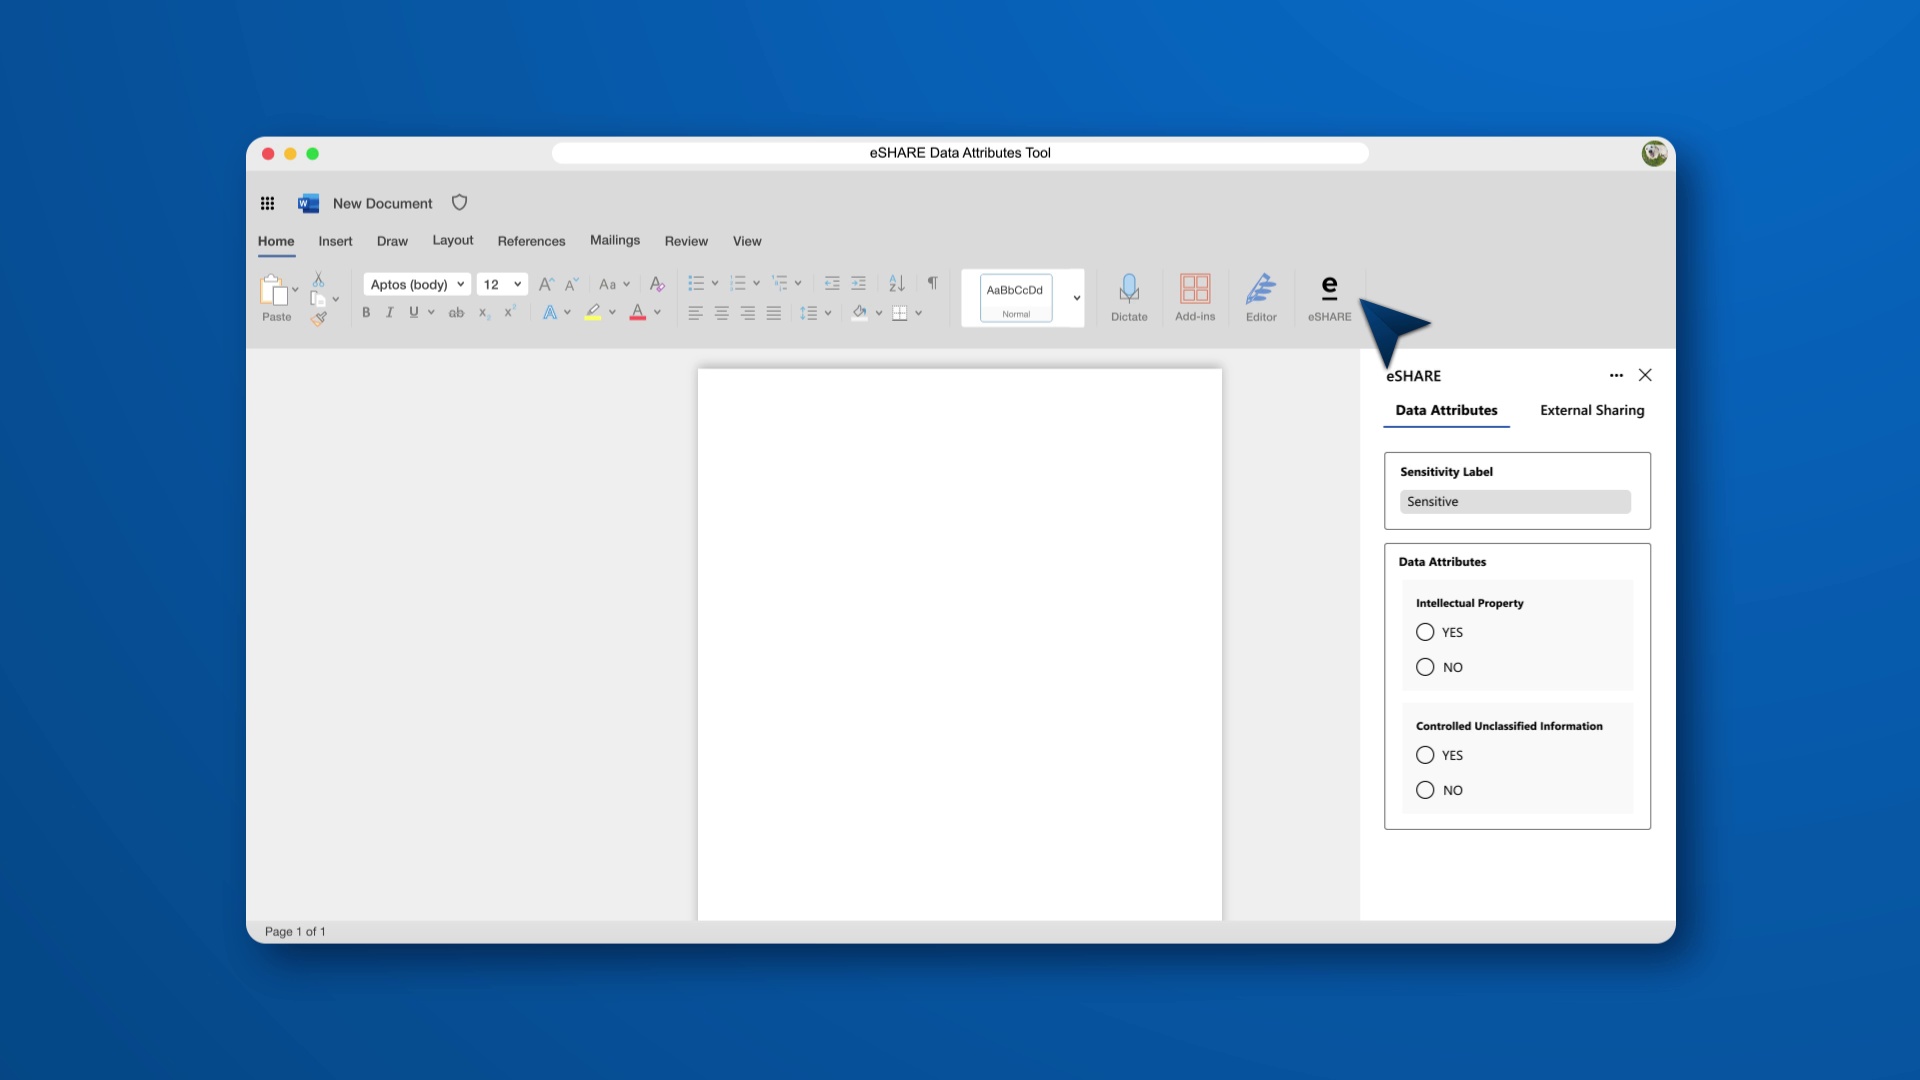
At the top of the panel, review the document's current sensitivity label. This label determines which data attributes can be applied.
Apply Data Markings
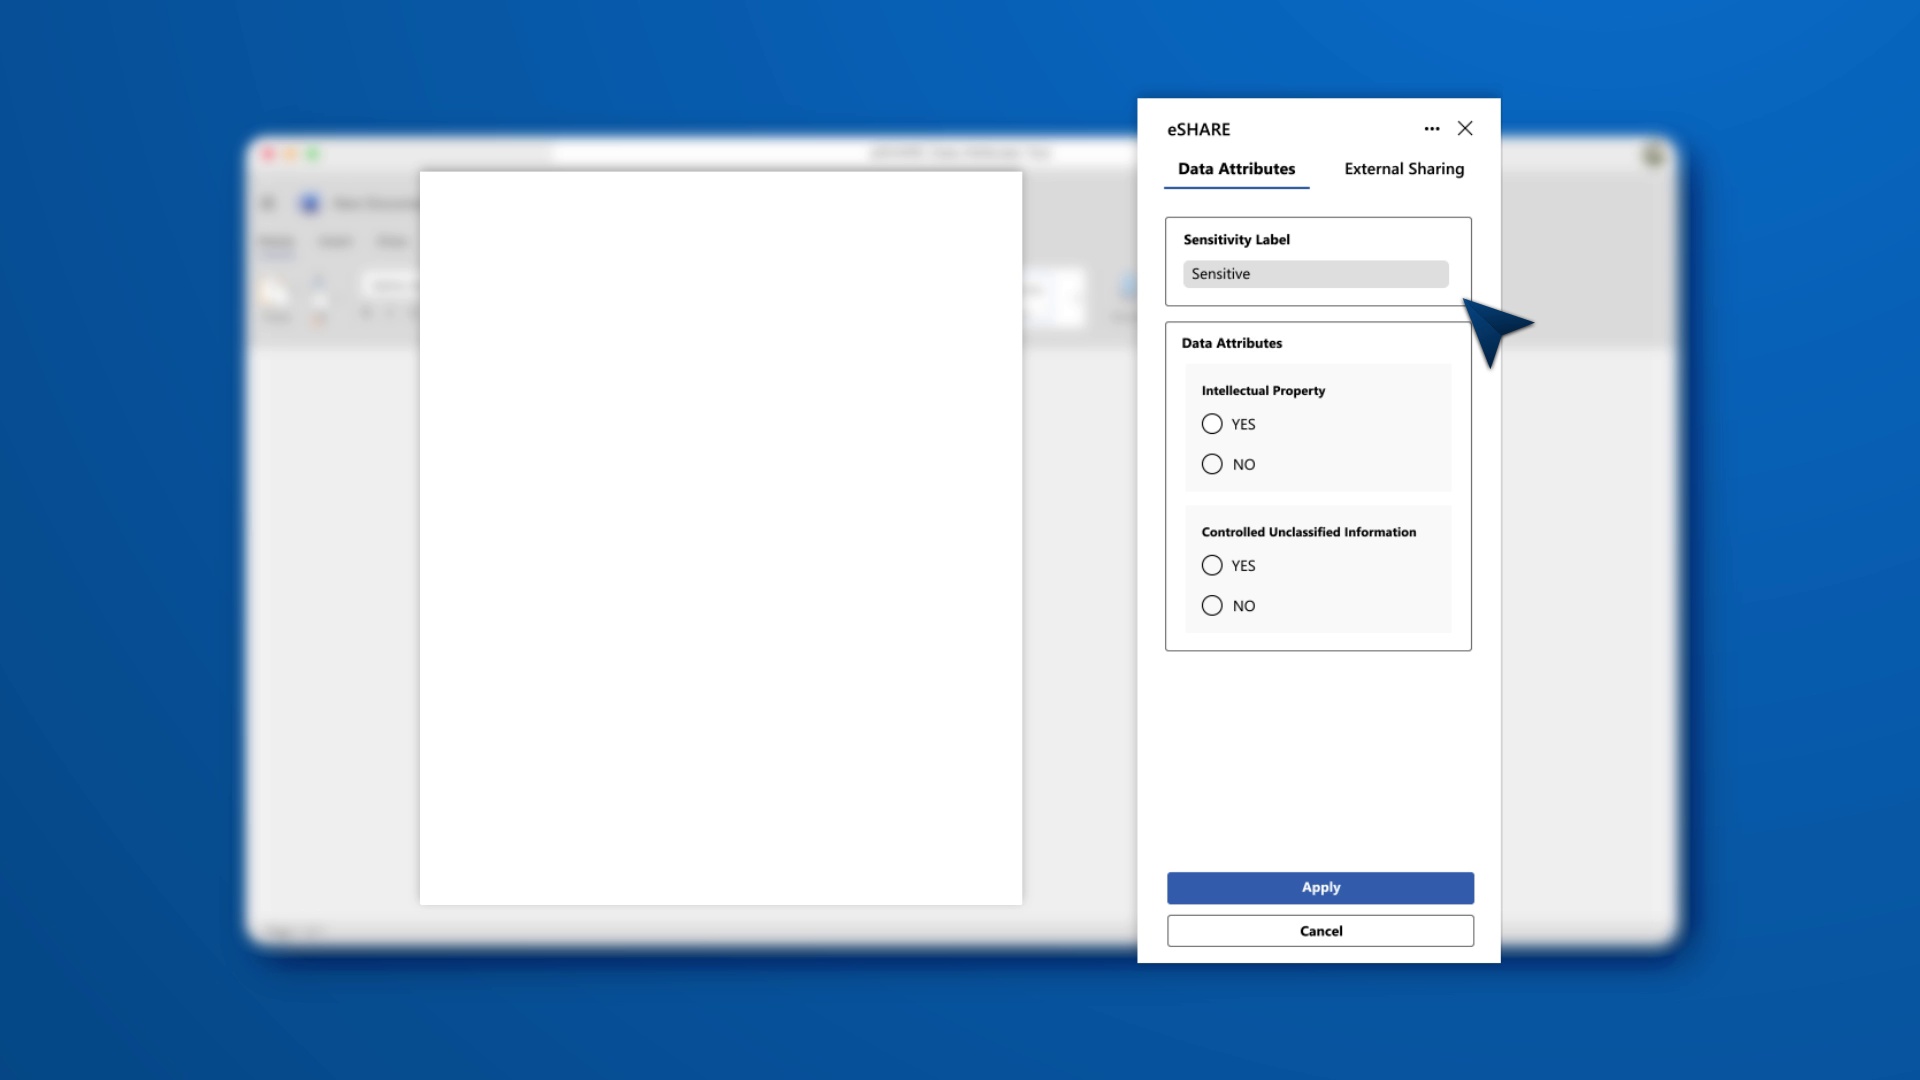
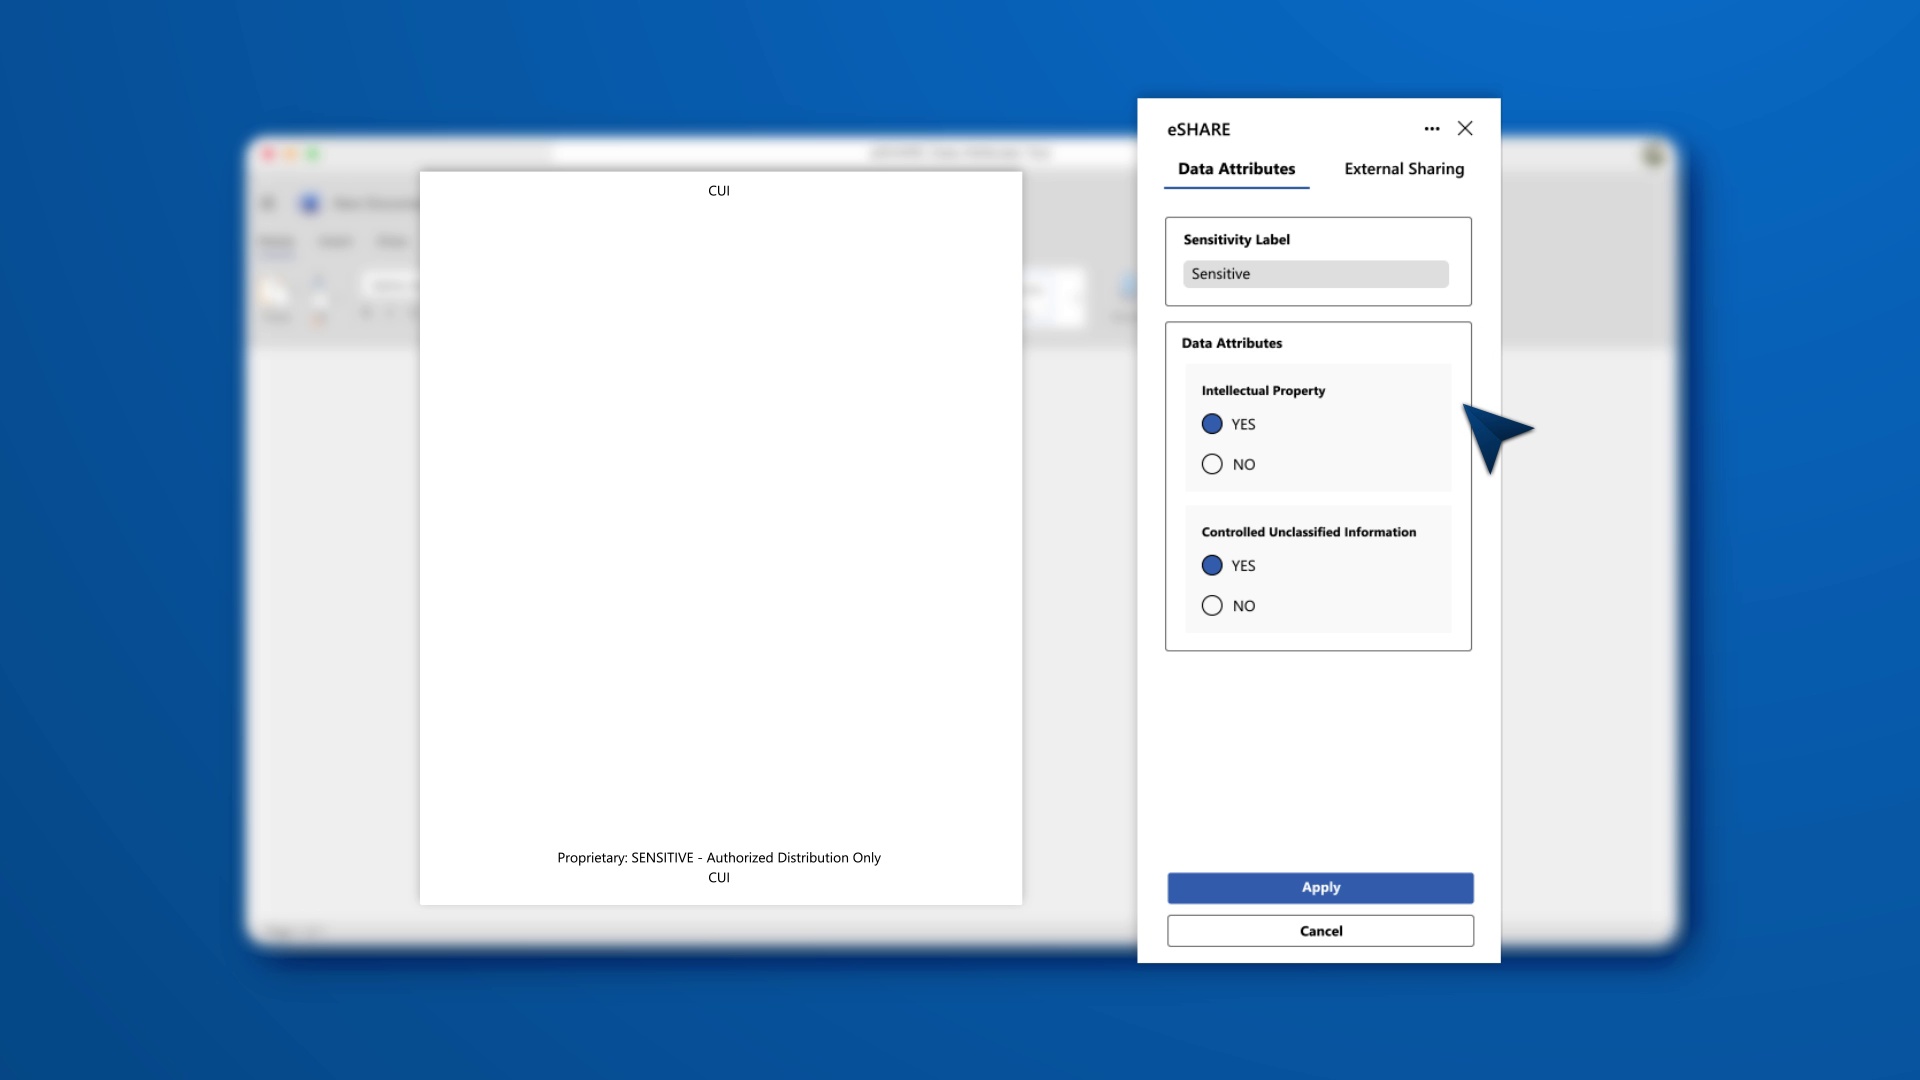
Select the data markings you would like to apply to your document by choosing the appropriate options in the panel.
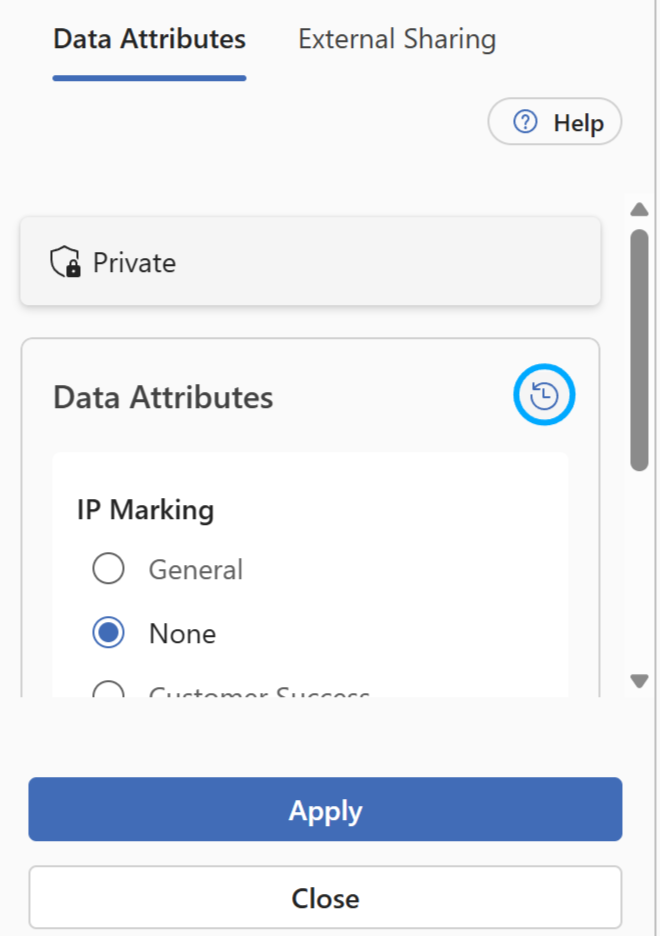
Click the clock icon to see the history of previous attributes applied to the document.
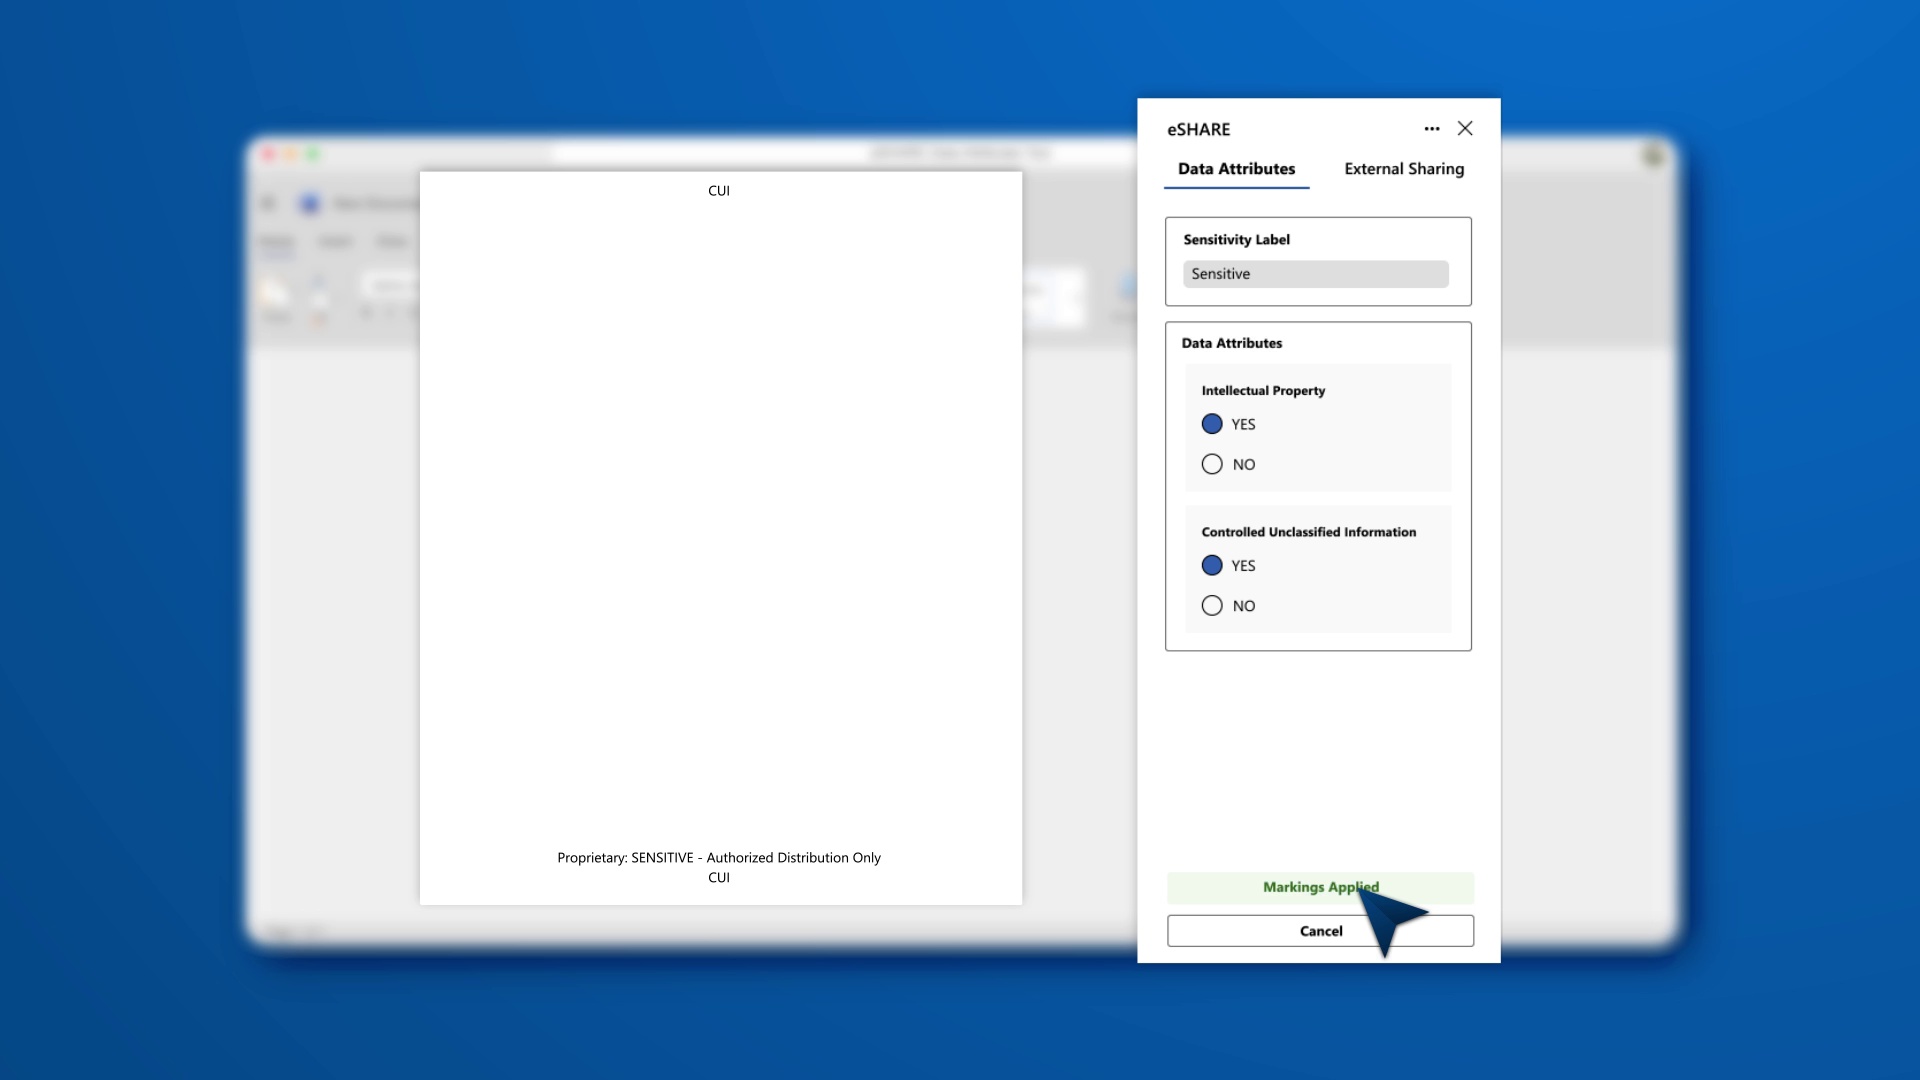
Once your selections are made, select the 'Apply' button at the bottom of the panel. eSHARE will automatically insert the appropriate markings into the header and footer of the document.
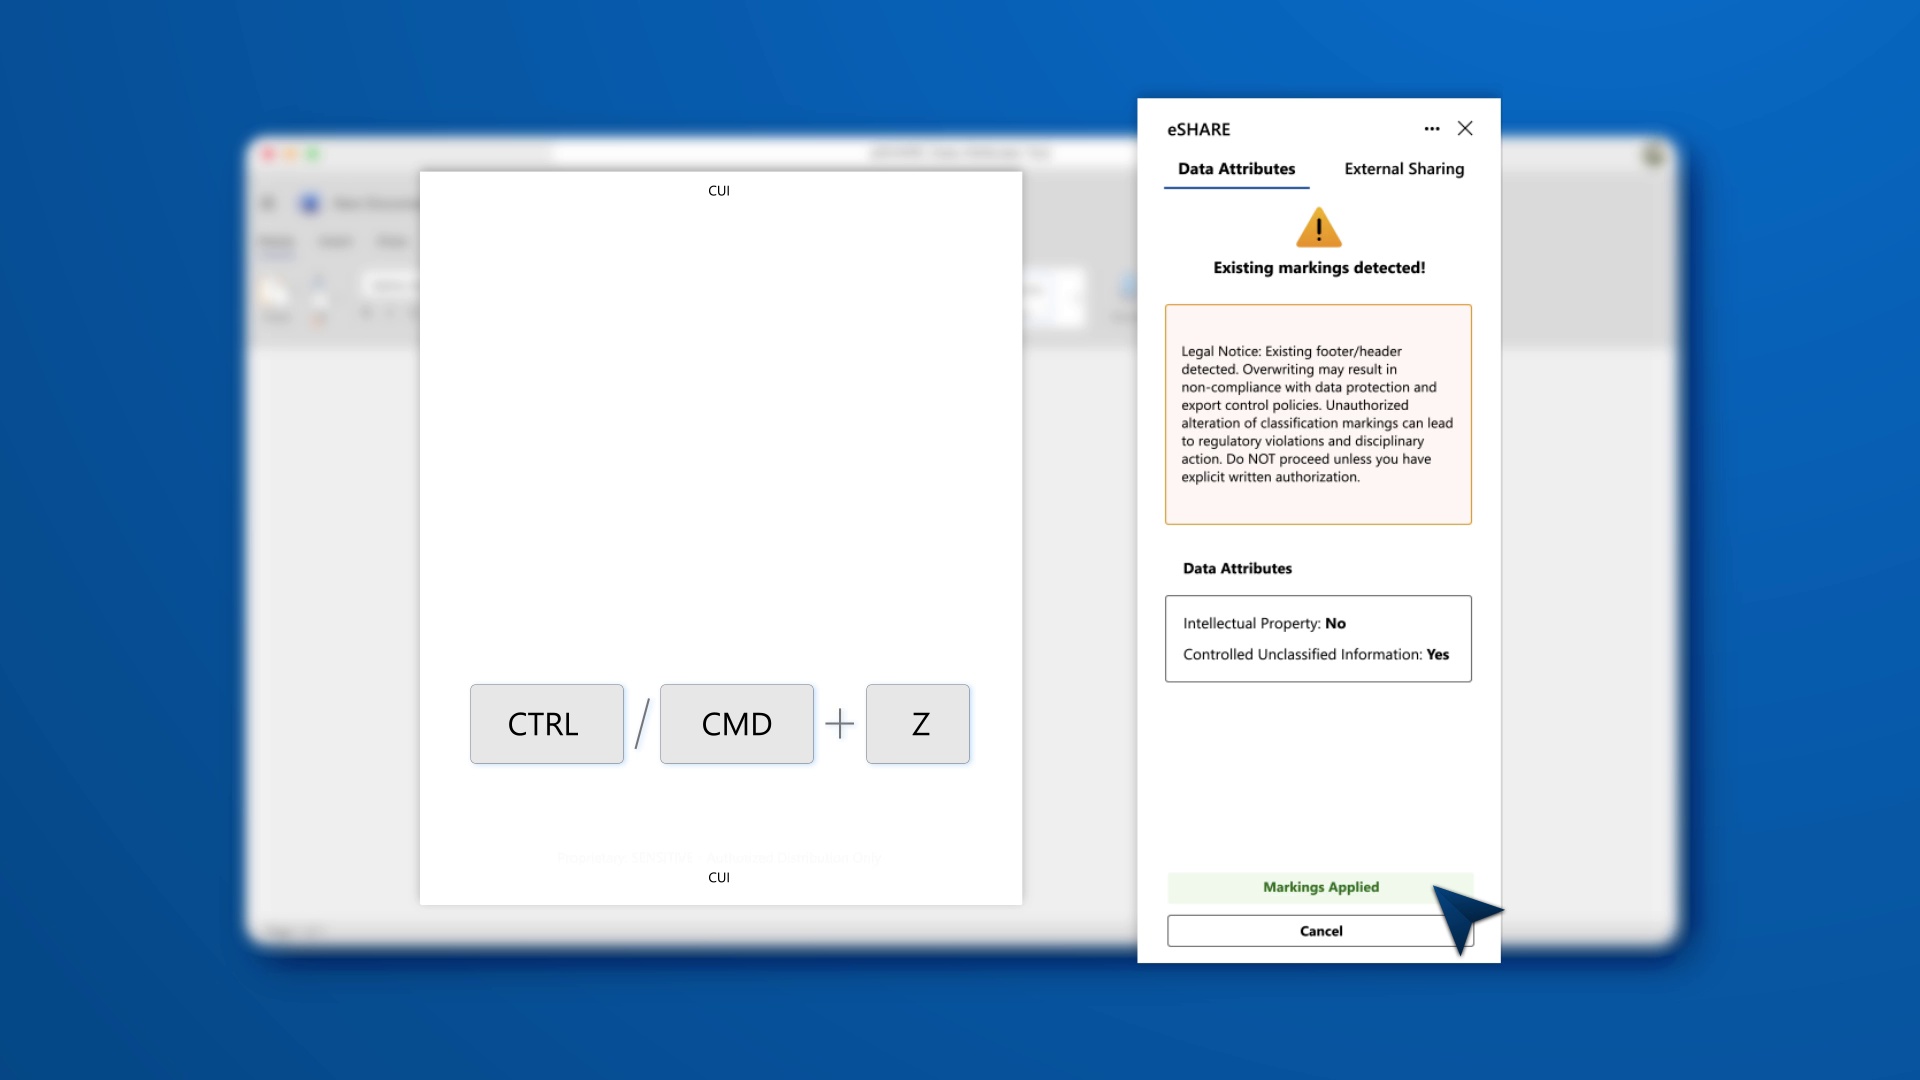
Upon applying your changes, you will be prompted with a legal notice. Confirm you intend to overwrite any existing document markings before proceeding.